Thursday, March 22, 2012

Counting her chickens . . .


I found this print at an antique store many, many years ago.  It was sitting down on the floor, mostly hidden, the corner of it peeking out from behind an old butter churn.  I pulled it out so I could see it better. Staring back at me was the cutest little face - and naturally I couldn't resist it.  I brought it to the owner and asked how much he wanted for it.  It had several tears and the frame was pretty well ruined.  He looked at it for a moment and told me I could have it for free since it was in pretty rough shape.  I was excited! I thanked him and brought her home to live with me! Over the years she has sat in the basement waiting for some attention.  I just couldn't find the right place to put her . . . until now . . . right there, in that empty spot under the new cabinets.


Imagine, fifteen years later, I have finally found a home for my sweet girl and her chicks. I decided she would be a perfect fit in my Serendipity Studio.  The pink walls brought out the pink in her dress.  The picture is so calming and serene, and that is how I want this room to feel!
Now, for a frame.  I looked all through the basement and even in my mom's basement, hoping to find an old picture (not being used of course) with a nice frame.  No luck.  I started looking in stores and was shocked at how expensive frames were.  At least the kind of frame I wanted.  I wanted it to be very vintagey and wide and carved and beautiful. It would  need to be 16 x 20, which was rather large, and that added to the cost.  One day in Hobby Lobby I remembered the picture and walked over by the frames.  Fifty percent off.  Hmmm.  I found several that would work but they would still be thirty or twenty five dollars, and I just didn't have that much to spare. One in particular was so beautiful, just perfect in fact, but it was shiny black . . . and expensive. I think it was $59.99.  I pulled it off the hook to look at it in detail and noticed the third one back was damaged.  I started getting excited, because you know what damaged goods means . . . discount!!!!  Long story short, I got this frame for five dollars.  It was cracked and falling apart, but I knew my husband could fix it.  

So he fixed it . . .


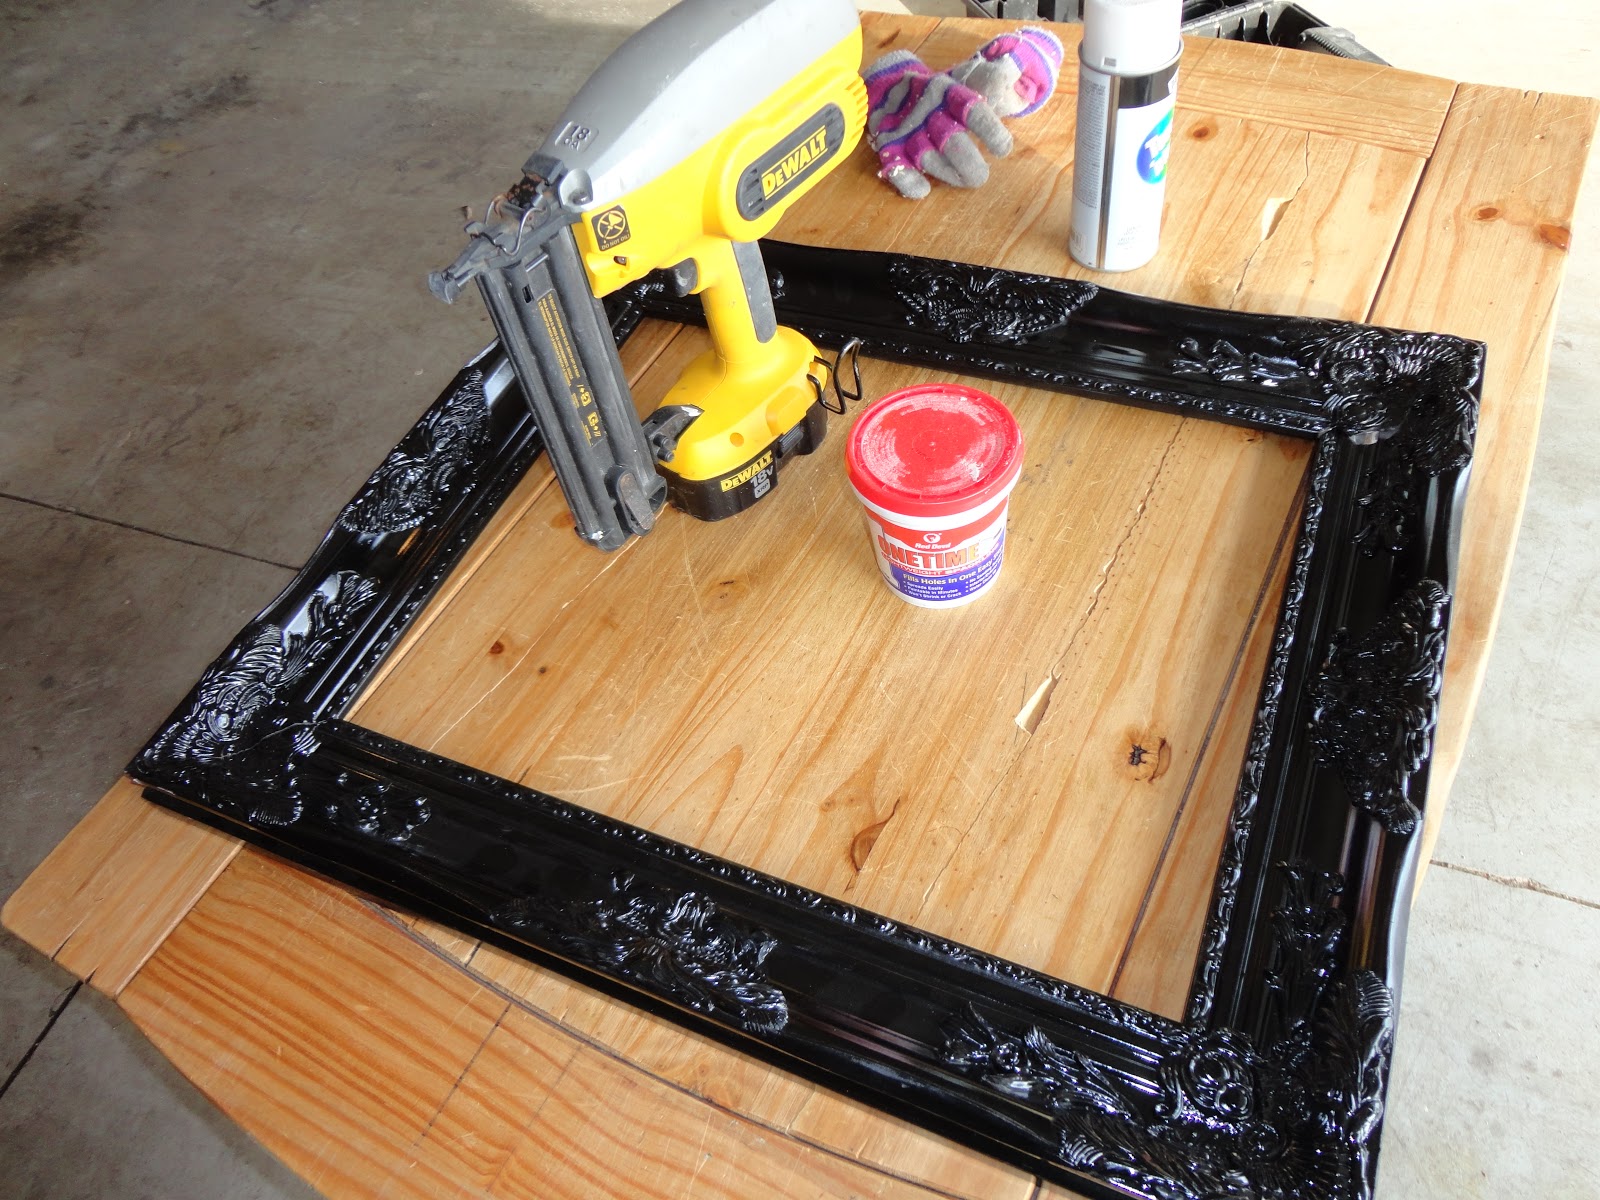
                                     and I primed and painted it .

I touched  up the picture as much as I could by matching the color of the paint and touching up scratches. I set the picture onto the cardboard and used a pencil to make a mark where the tears would be, and painted little bits of color onto the areas so the holes wouldn't be so obvious.


Finally I put it in the newly painted frame, and VOILA!  Isn't she beautiful!!  I started out painting the frame in off-white, but it just didn't look good on the wall.  I looked at my blue wall in the basement and decided that would be a perfect shade.  I painted the frame, wiping back on the fancy carvings to show the dark so it looked more dimensional.


Here she is!  I think she looks perfect.  I'm so glad I saved her all these years, and I'll bet she's happy to finally have a proper home.  Who knew I would have chickens myself?  The writing on the bottom of the print says "Counting her chickens after they hatch" but you can't see it as it is at the very bottom edge.   I hope she will be happy in my new studio.  I will be happy to have that sweet little face greet me every single day!! 
Thanks for visiting, and I'll keep you up to date as I go along! Thank you once again to my sweet friend Meri, from ImagiMeri's, for another wonderful vintage image!
 

Sunday, March 11, 2012

Serendipity Studio - Countertops


Welcome back to my latest adventure, the creating of my Serendipity Studio.  The next step is putting a countertop under my   new cabinets.  
My husband built little boxes to support the counter.  I thought this would be a great way to add more storage to the room, because I have a lot of stuff!!! The boxes are done, and we set them up under the cabinets . . .
         nailed them together into one sturdy unit . . .
 
                      and placed the counter on top.

It looks pretty good.  It will be nice to have counter space and more storage space. I wasn't quite finished though, because I got to thinking about how I don't like clutter.  I am kind of OCD/ADD, and clutter just confuses me.  I need a clean, clear area to work in -  I don't want to have to look at all the stuff in the bins.  The perfect solution was to make a little gathered skirt, like the old fashioned pedestal sinks have.  Truthfully, even if I didn't need to cover up the clutter, I thought it would look charming!  I used fabric from the Ruby line by Moda.  I love it.  

We decided the easiest way to hang the skirt was to slide it onto wooden dowels. My husband had to screw two of them together to be long enough for the entire length of the counter.  To support the dowels we screwed hooks into the wooden boxes. . .  

I got busy making the skirt.  I measured the length of the counter  and multiplied it by 1-1/2.   This gave me the total yardage needed.  I divided the skirt into three sections for easy access under the counter.    Note:  From here on in I will be using 2 times the width instead of 1-1/2 because I didn't feel it was full enough. This will still be okay for this countertop because you can't really see it.
On each section of skirt I folded over the top of the fabric about 3-1/2 inches.  I  stitched two rows of stitching to make a casing for the wooden dowel.  I left a little ruffle on the top of about 1 inch.
I hung it up and pinned it to the right length.   
 I took it to the ironing board and pressed the bottom hem.  I trimmed the excess fabric leaving about an inch and stitched the hem.  
Once the skirt was up I decided it needed a little somethin' somethin', and I remembered the vintage aprons I purchased at an antique store a few months ago for just this project.  When I found these aprons  I couldn't believe my good luck.   More serendipity!!
There was a display rack full of pillowcases and aprons and tablecloths, folded and hanging on hangers.  I started looking through them, and found these.


 Five of them, brand new!  Can you believe it?  I couldn't.  I think there was a small little stain on one, looked like water or something had dripped on it.  I was shocked to see them priced at four dollars, and grabbed them all up.  These aprons would be perfect for the new room. I had planned to tie the aprons end to end and make a banner under the counter to hide the bins. Once I tied them together and strung them up I could still see behind them into the little boxes, and I felt it looked messy.  That's actually when I decided to make the little skirt to put up behind the apron.  I think it looks better now because the aprons are much easier to see with the fabric behind them.  The white cabinets made the aprons disappear. So, I pressed the aprons, retied them, and hung them up.  Definitely is vintagey and retro, but has a kind of cheerful farmhouse fresh feel.  I think I have achieved what I was going for.  I really do love it!!  I love vintage and whimsy, and this feels like both!


I think it looks really cute!  Thanks so much for visiting with me.  I am so happy that you are having fun right along with me!
 
Hi this is Hailey.  I am sure my grandma has talked about me before.  I am spending the night at my grandmas house tonight. Next week you will see pictures of my half of the room.               
 
          
         Love,
             Hailey

Sunday, March 4, 2012

Serendipity Studio

http://www.etsy.com/shop/VendulkaM
Oh no . . . it's happening again.  I am smack dab in the middle of a huge project with multiple other projects started and waiting in the wings, and I find something else.  Seriously, is this the cutest thing you have ever seen?  I actually said that right out loud when I saw it. It makes me happy just to look at it.

It's not my fault.  I can't help myself.  Here's how it happened.  I was just minding my own business, taking a quick peek into Etsy, looking for a crochet pattern.  Because I love crochet.  LOVE LOVE LOVE.  I'm not really very good at it,or should I say experienced,  but I will attempt a few simple things now and then.  I actually searched crochet patterns for a sweater or shrug, (which I found by the way), and somehow ended up on this wonderful Etsy shop.  
http://www.etsy.com/shop/VendulkaM
 I am ordering  these  purse patterns. I think I will make these for both myself and my sweet little granddaughter Hailey. 
And this little purse pattern I am going to get for Hailey to try to make herself.  She is just learning to crochet and also loves it. The pattern says it is a beginner pattern as well.  That is a little hedgehog on the purse.  How cute is that?! She wants to enter something crocheted into the County Fair this summer, and I think this would be perfect!
http://www.etsy.com/shop/VendulkaM
Last, but not least, was this "Spring Birdie" pattern  with these darling birds.  Ohmygosh.  I love these cute little birds. Can you hear me squealing?   I seriously need professional help.  I know I do, and I don't care. These last couple of years, when I hear myself saying weird things or do crazy things, or get mad at myself when I am not organized (or whatever it is I have determined is a flaw in my personality or character), I just shrug it off and tell myself it is part of my charm.  Yeps, that's it, just part of my charm. This will be  my new way of thinking about myself.  These things that drive me crazy about myself or my little um, eccentricities shall we say, are not flaws, but little things that make me uniquely me. 
I will make tons of these sweet little birds in pretty colors, and probably have them all over my Serendipity Studio!
http://www.etsy.com/shop/VendulkaM
Here is a link to the Etsy shop where you can find these patterns: 
http://www.etsy.com/shop/VendulkaM  
She also has a ton of lovelyl photos on Flickr, here is the link:
 http://www.flickr.com/photos/vendulkam/

Oh yes, remember I said how I started off looking for a VERY simple shrug or sweater pattern?  I found this.  I love it. Feels vintagey and fresh and fun to me.   It says it is very easy, beginner, and can be completely customized.  I will make it longer since I don't want my sweater to end right at my pudgy stomach.  Just a little longer will work for me, ending a few inches past my belly button is what I like best. These shrugs are so popular and so cute, but if you have a little extra somethin' somethin' around the waistline (like me) that you are self-conscious about (like me), then this shorter length probably isn't for you either!

http://www.etsy.com/shop/Carlitto
I will probably make one in pink and one in a pretty shade of  teal.  No doubt there will be a crocheted flower on them with a pretty vintagey brooch or button in the center.  Hmmmm, maybe a little crocheted bird?  I'll let you know. 
 Here is a link to the shop where you can find this shrug:   http://www.etsy.com/shop/Carlitto  

See, I got sidetracked again.  ADD, for sure! I meant to post about my progress in my Serendipity Studio. So here's what's happening.

We purchased the cheapest cabinets we could find at Menards, and I used a milk paint to try to make them look shabby chic.  Lots of painting and wiping back and sanding down, but I finally got a look I was happy with.
Luckily my son and nephew were home to help bring them in to the basement. Out from the pole barn, into the house, and down the stairs we go.

 I'm sure they were thrilled!

We got them up on the wall . . .

and added some under the cabinet lighting.
We put a little piece of trim to the cabinet bottoms to hide the lighting, and voila!  We have cabinets!

My husband painted and put up crown molding where the ceiling meets the wall on the outside foundation walls.  Not trying to be fancy, but you could see the insulation so it was necessary.  
 
I hope you are enjoying my little adventure.  Next step is the countertop.  See you then!